Get set up in less than three hours.
Even with your team running the operation. HiberHilo’s fast to set up. In fact, there’s just a few steps.
Step 1: Install the gateway
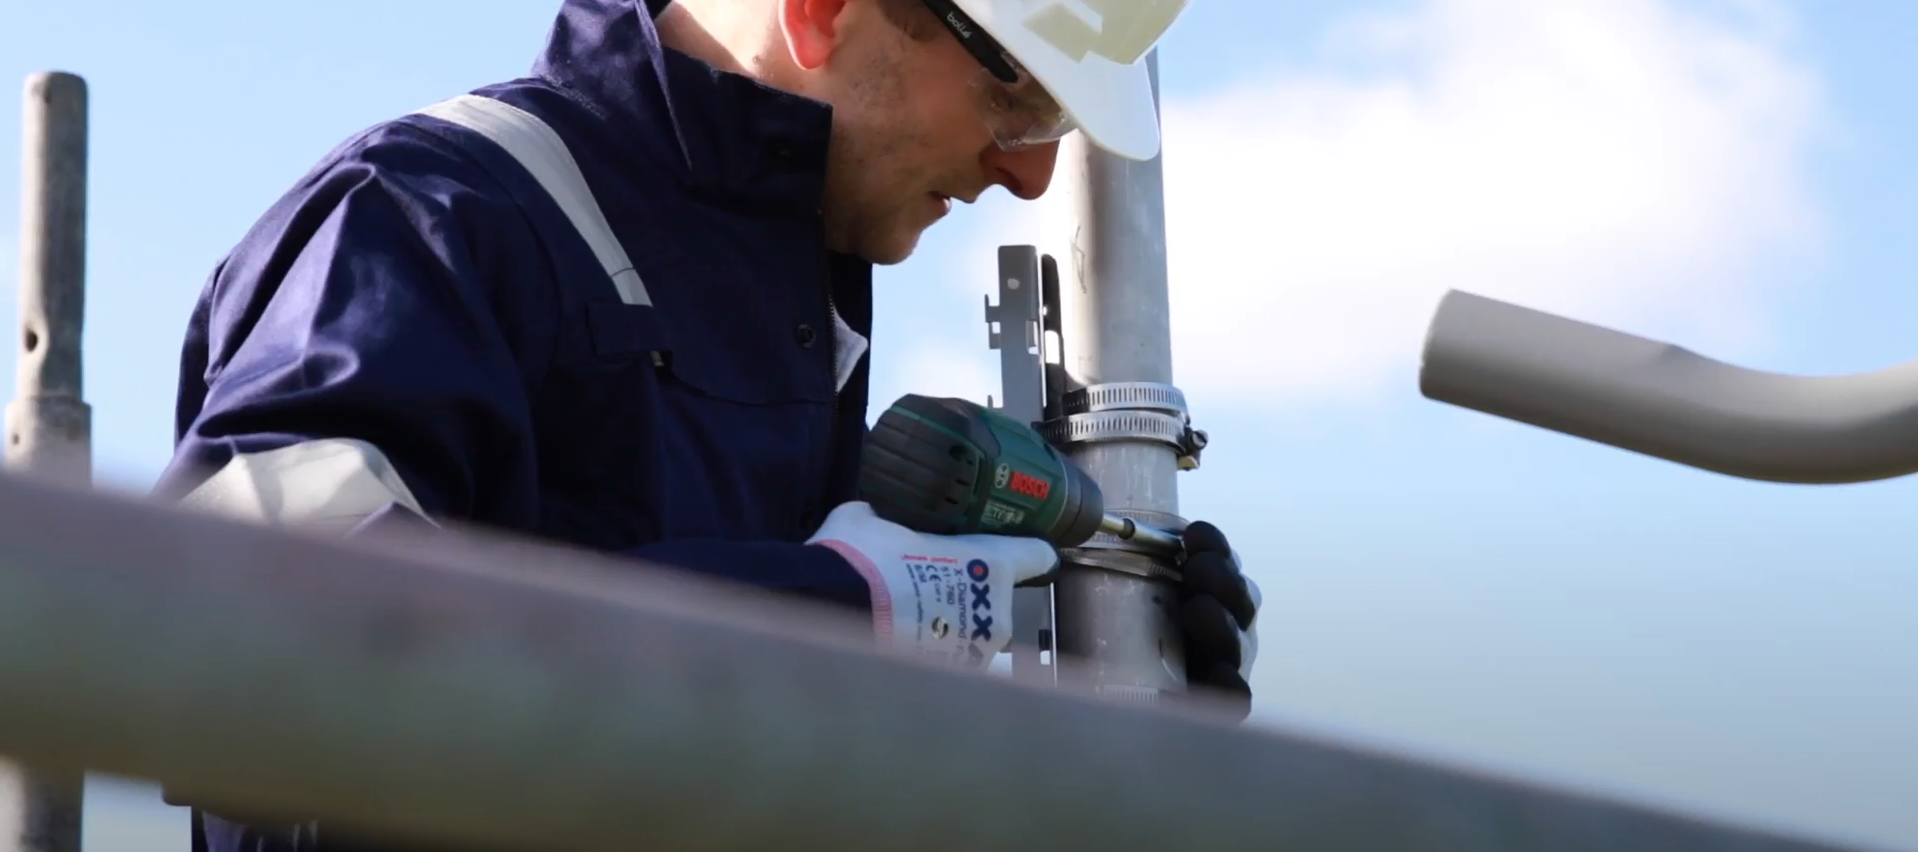
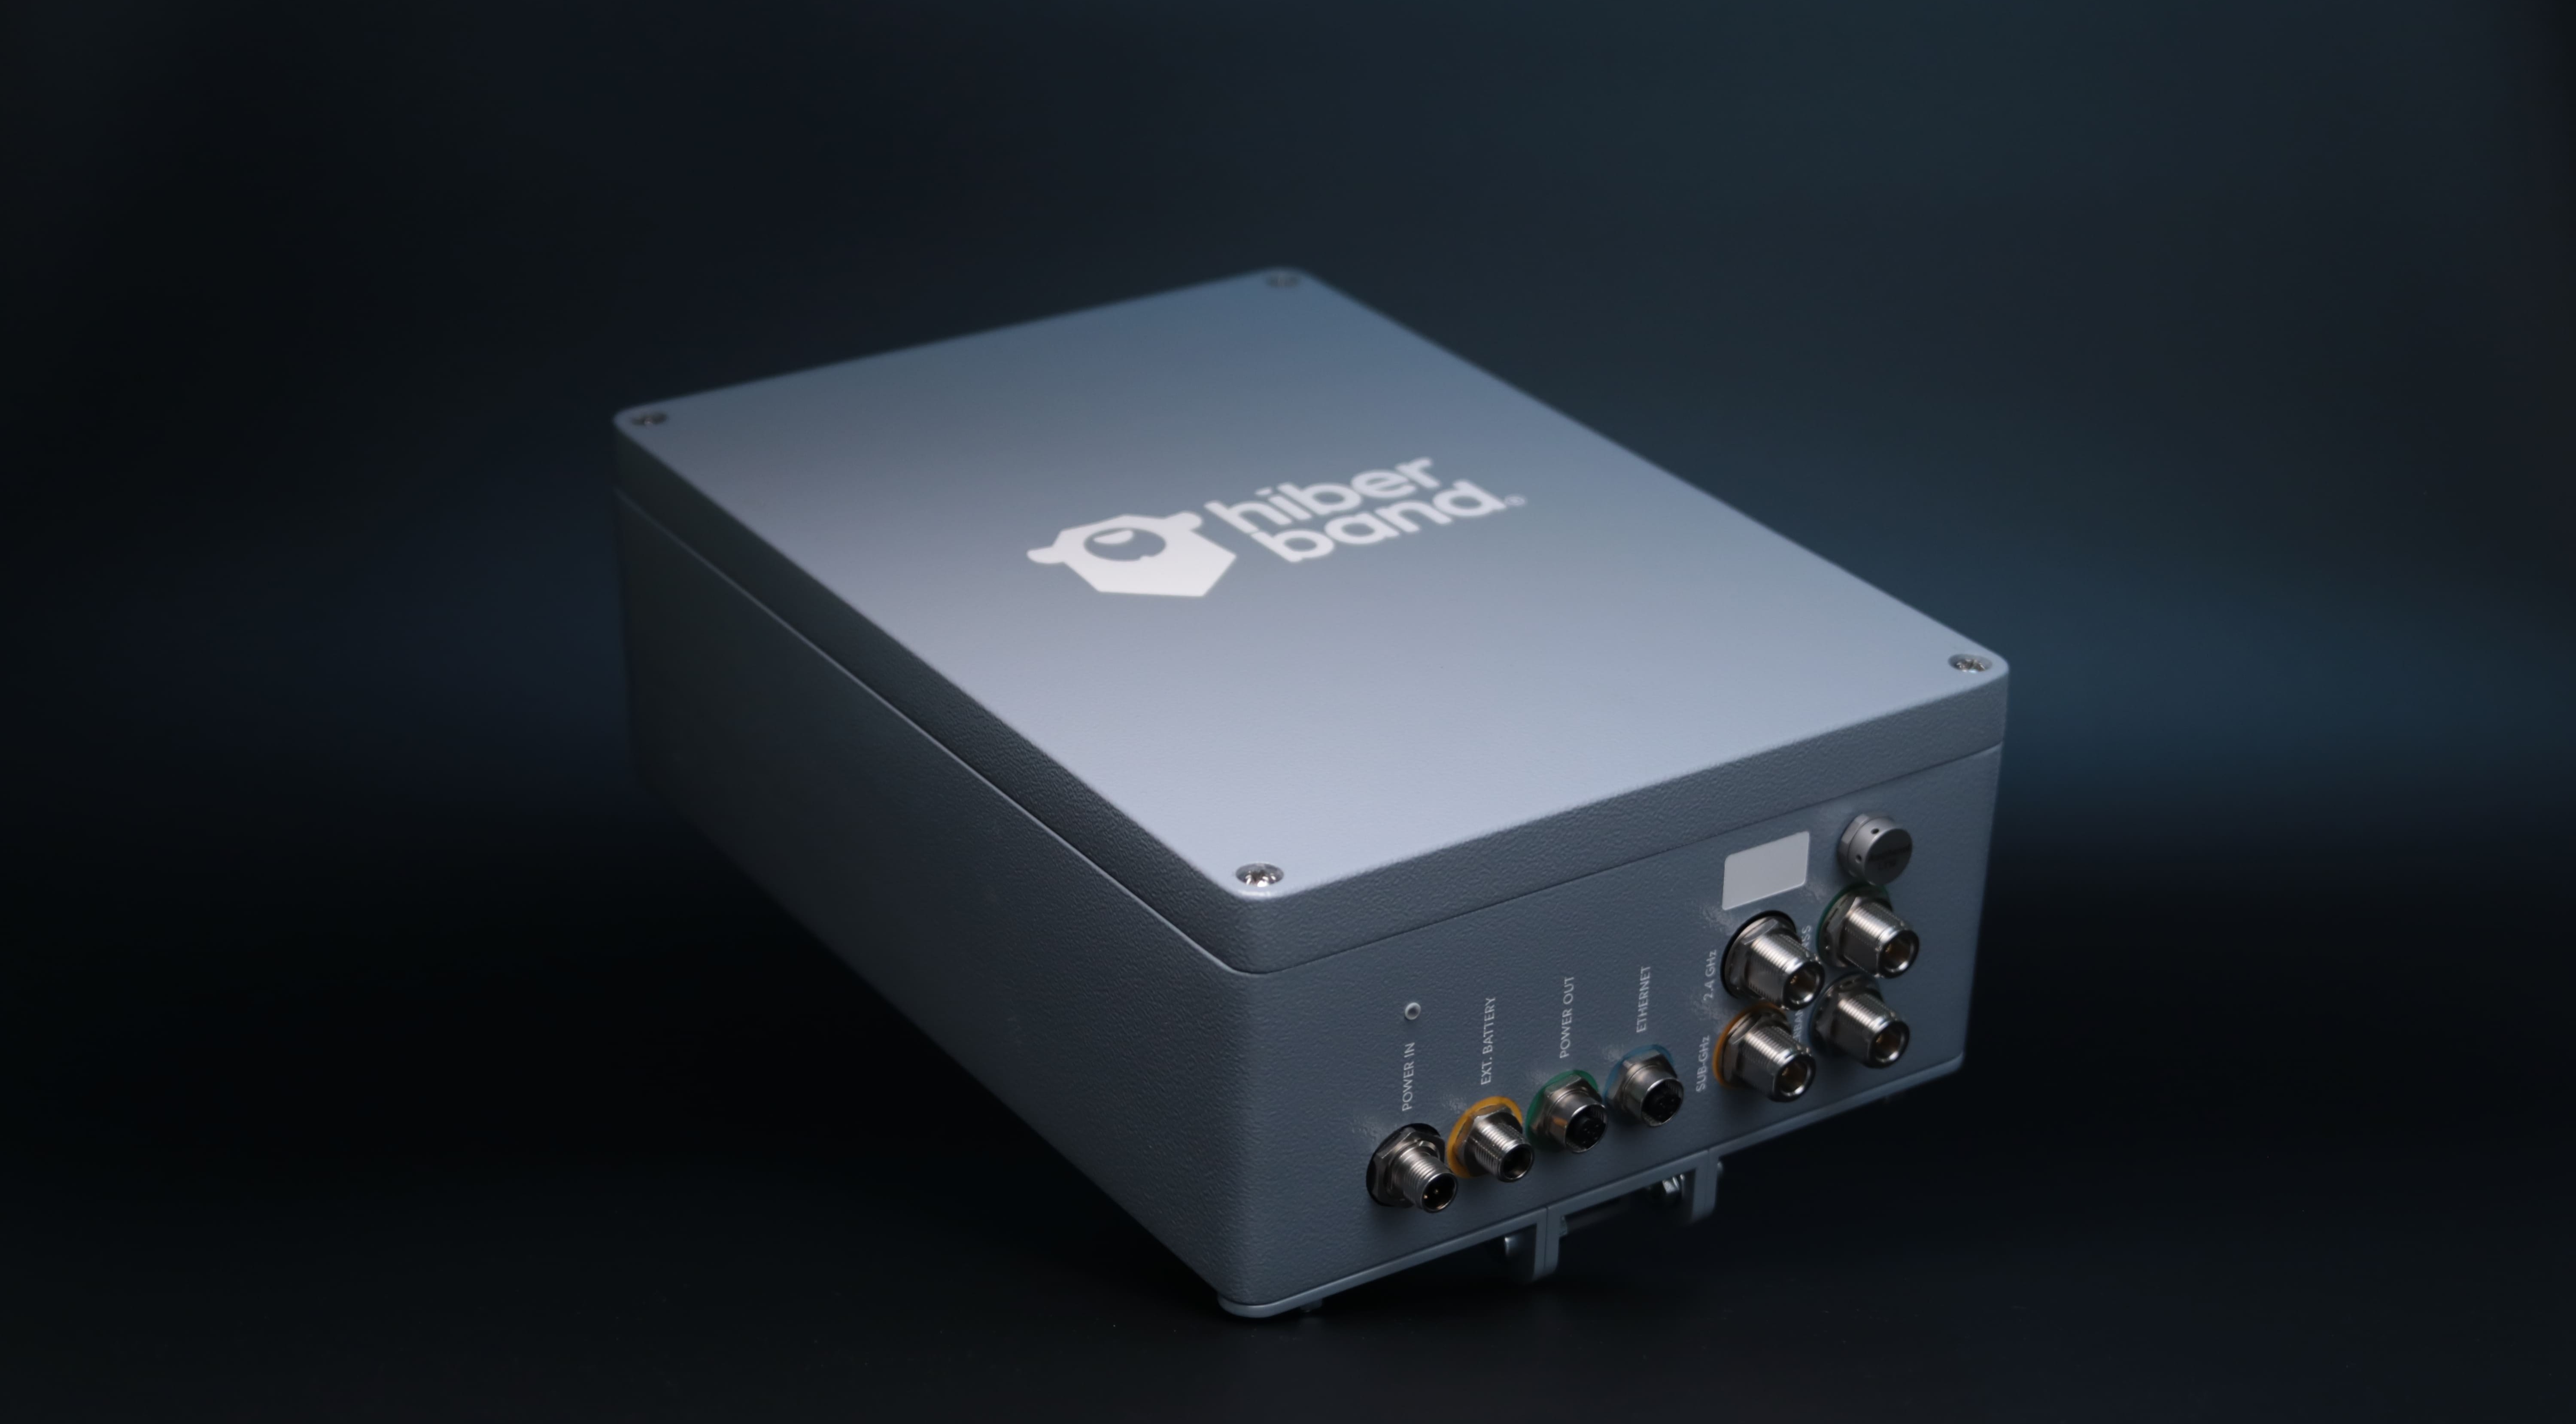
The first step for installation is to get the gateway set up. The gateway is how HiberHilo sensors connect to the satellites. It’s basically a sleek, 4-kilo box that you bolt down somewhere on your structure. It has two antennas. One for receiving data from HiberHilo. And one for transmitting that data to space.
Step 2: Do a LoRa check
Once the gateway is installed, it’s time for a quick LoRa check with one of the sensors. Just grab one of the pre-configured sensors you’re going to use, open an app on an ATEX-safe phone, and make sure the sensor shows up in the software.
Step 3: Install the sensors and confirm their connection
Done with the gateway and LoRa check? Good. Now it’s time to install the rest of the sensors on your wellheads.
HiberHilo sensors come pre-configured, so you don’t have to fuss around with the sensor after you pull it out of the box. Just screw the standard half-inch NPT connection into the Christmas tree, and you’re done. It’s faster than making an appointment at the doctor’s office.
After you’ve installed all the sensors, you will need to confirm that they’re all connected and sending data to the gateway. You can do this by connecting to the Via gateway’s WiFi hotspot with a laptop or a smartphone, then opening up the dashboard. You’ll be able to see all of the sensors in one slick overview and make sure they’re sending data.
Step 4: Give your teammates high fives.
Look at you. You’re done. Last thing is to run through the installation checklist and confirm that the solution’s working. And you should see the data start to roll into your dashboard in about 15 minutes.


